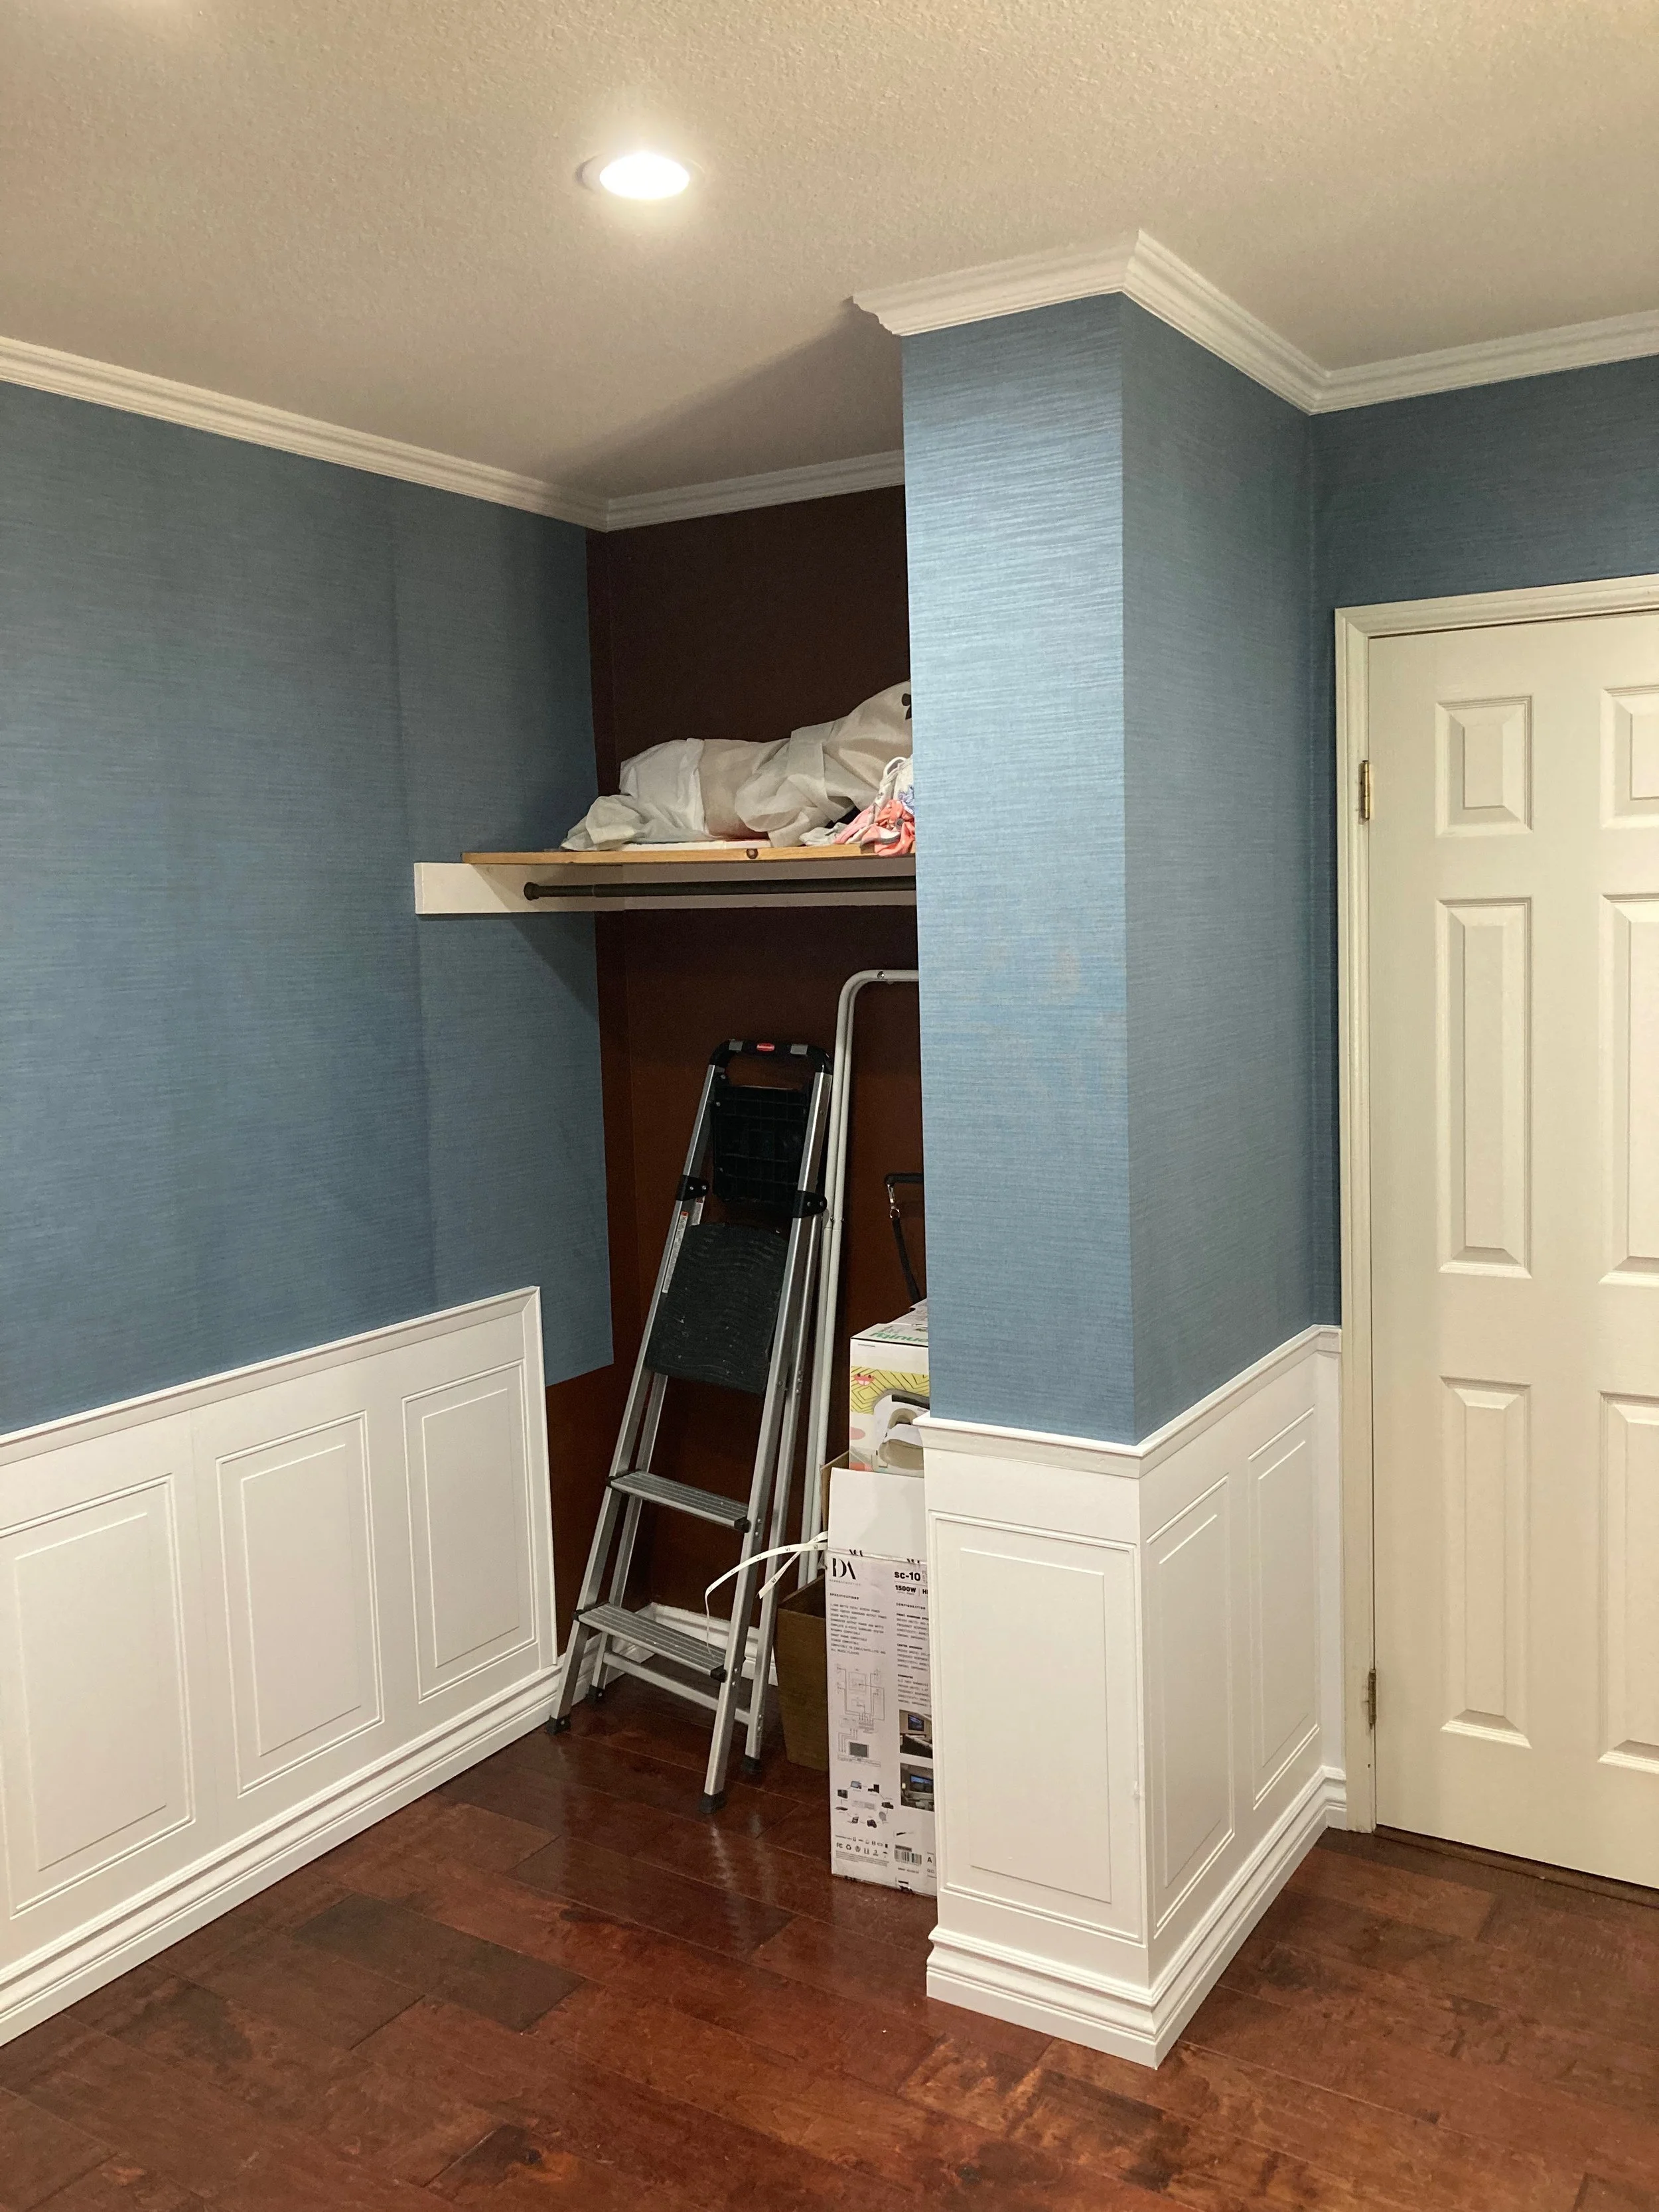
How do you cope with Crown Molding?
Any area in your house can benefit from the elegance and charm that crown molding can bring, but cutting it might be scary. But, anyone can master the art of cutting crown molding with the correct equipment and methods.
Once cut, twice measured
It's crucial to take precise measurements of your walls and ceiling before you begin cutting. Take your time and make sure you have accurate measurements since crown molding needs to fit tightly against both sides.
Choose the Correct Tools
You'll need a few key tools to cut crown molding. The best tool for precise cuts is a miter saw, but if you're a glutton for punishment you an use a miter box. Cutting complicated forms and corners is another usage for a coping saw.
You must modify the miter saw's angle and bevel settings in order to cut crown molding with it. Although some of these settings may be puzzling, with some practice, you'll be able to use them effectively.
Secondly, depending on which way the molding will be fitted, adjust the saw's angle to the left or right. After that, change the saw's bevel setting to correspond to the spring angle of the molding.
Finding the spring angle
To find the spring angle of crown molding, you will need to measure the angle between the molding's back and bottom edges. The spring angle is the angle formed by the intersection of these two edges.
One way to measure the spring angle is to place the molding on a flat surface with the back edge against the surface and the bottom edge facing up. Then, use a protractor to measure the angle formed by the back and bottom edges at their intersection.
Another way to find the spring angle is to use a digital angle finder tool. Place the tool's base against the back of the molding and the arm against the bottom edge. The tool will then display the angle formed by the two edges, which is the spring angle of the molding.
It's essential to find the spring angle of crown molding before cutting it, as it determines the angle at which the molding should be placed on the saw when making angled cuts. The correct spring angle will ensure that the molding fits precisely against the wall and ceiling surfaces.
After positioning the saw, lay the molding flat on its base and make a 45-degree cut. To guarantee a precise cut, hold the mould firmly in place.
Crown molding can be cut with a handsaw and miter box.
Crown molding can still be cut with a handsaw and miter box if you don't have a miter saw. The molding is held in place while being sawed at the proper angle using a miter box.
Set the molding in the miter box at the required cutting angle first. After that, cut along the angled slots in the miter box using the saw. To guarantee a smooth cut, hold the molding firmly in place while using the saw.
Using a Coping Saw to Cut Complex Forms and Corners
Cutting complicated patterns and corners for crown molding frequently involves the use of a miter saw or handsaw, which can be difficult. A great tool for these kinds of cuts is a coping saw.
As with a miter saw, cut the molding at a 45-degree angle using a coping saw. Following the contour of the curve or corner, cut along the molding's profile with the coping saw. An exact cut that completely aligns with the neighboring molding should be the end product.
If you still have problems or want a steady and experienced hand to handle cutting and installing your crown molding then reach out to us at Hugehandymansd.com or 858-391-4391!


